
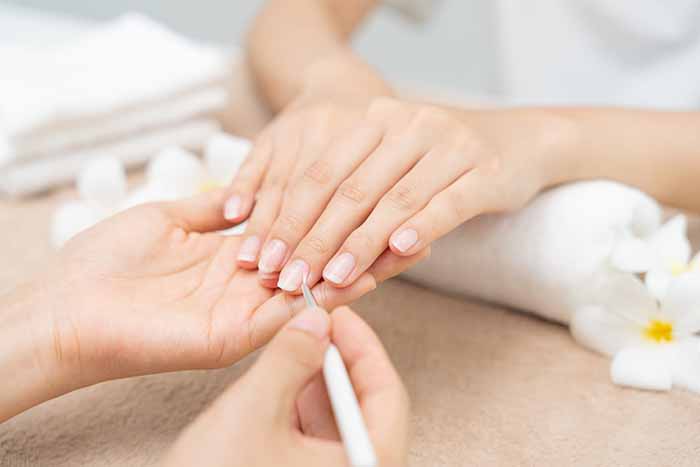
A great manicure does not require a salon full of equipment. It requires the right tools, used correctly, and a few products that cover preparation, application, and aftercare. Whether you paint your nails at home, use gel stickers, or do occasional repairs, a well-chosen kit makes the process faster, safer, and longer-lasting. This guide covers the essentials in five categories: the basic kit, preparation and care, gel nail stickers, polish and nail art, and removal and repair.
Essential Tools in a Nail Kit
Every nail kit should cover the basics of shaping, cleaning, and finishing.
Nail clippers. Sharp, stainless steel clippers for shortening nails. For toenails, use a straight-edge clipper and always cut straight across to prevent ingrown nails.
Nail file. A fine-grit file, 180 to 240 grit, for natural nails. Glass files are gentle and last for years. Always file in one direction—never saw back and forth.
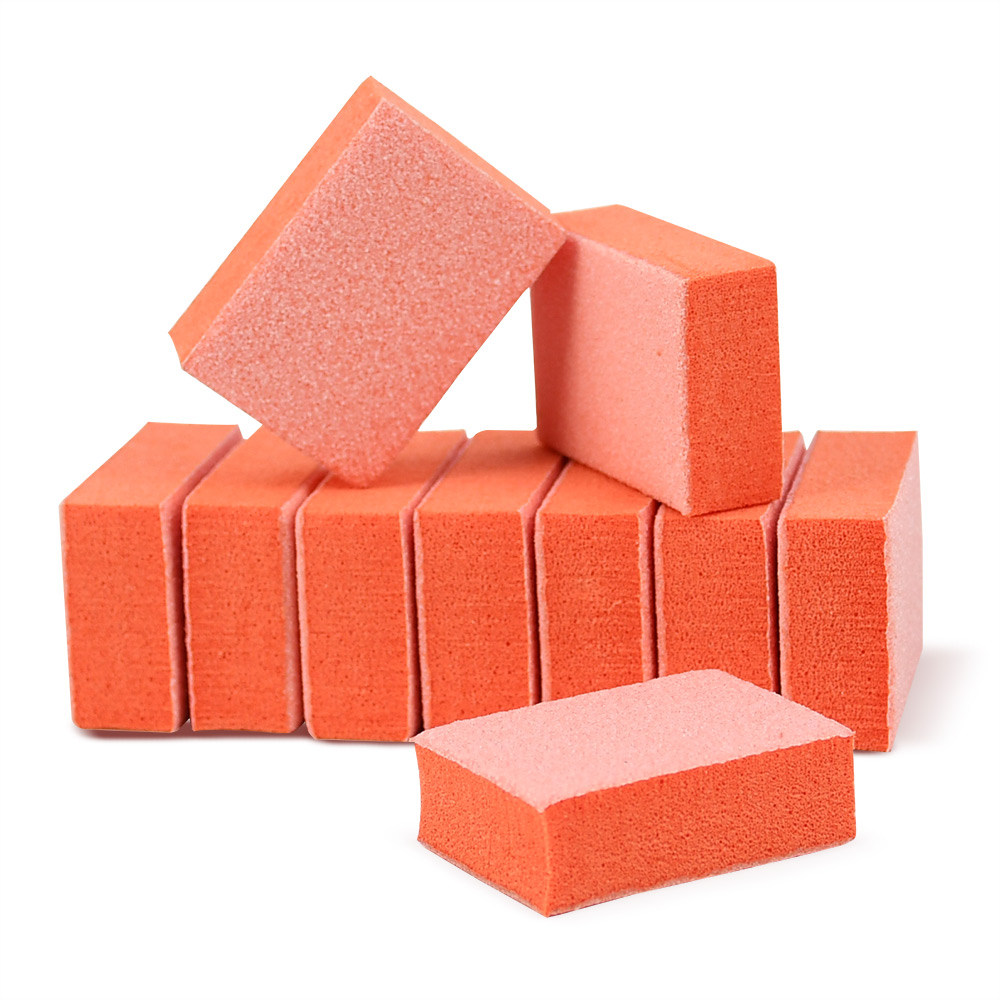
Buffer block. A fine buffer removes shine and smooths ridges. Use light pressure. Two or three passes are enough.
Cuticle pusher. A wooden or rubber-tipped pusher gently moves the cuticle back from the nail plate. Do not cut living cuticle.
Cuticle nippers. Small, sharp nippers for trimming only loose, dead skin. If you are unsure whether skin is dead, do not cut it.
Nail brush. A soft brush for cleaning under the free edge and removing dust.
Lint-free wipes. Cotton balls leave fibers; lint-free wipes are better for cleanser and dehydrator.
Small cleanup brush. An angled brush dipped in remover is essential for perfecting the cuticle line and cleaning up mistakes.
Dust brush. For removing filing dust before polish or gel application.
These tools form the foundation. Keep them clean. Wash metal tools with soap and water, dry them, and wipe with rubbing alcohol. Files, buffers, and wooden sticks are porous and should be disposable or single-use.
Nail Preparation and Care Essentials
Preparation is the most important part of any manicure. These products create a clean, dry surface and keep nails healthy.
Nail dehydrator or 91% isopropyl alcohol. Removes oils and moisture from the nail plate. This is critical for polish and gel adhesion. Wipe each nail twice. Do not touch the nail after dehydrating.
Base coat. Prevents staining, improves adhesion, and creates a smooth surface. Choose a sticky base coat for oily nails, or a strengthening base coat for weak nails.
Cuticle oil. The most important aftercare product. Jojoba oil is ideal because it penetrates the nail plate and mimics the skin’s natural oils. Apply daily, morning and night, and after every hand wash.
Hand cream. A rich cream with shea butter, glycerin, or ceramides keeps the skin around the nails hydrated. Apply after every wash.
Nail strengthener. A keratin-based strengthener can provide temporary support for weak or peeling nails. Use it according to the instructions and take breaks. Avoid strengtheners with formaldehyde, which can make nails brittle over time.
Gel Nail Stickers: Why and How
Gel nail stickers—also called semi-cured gel wraps—are thin strips of real gel polish that are partially cured in the factory. You apply them, smooth them, and cure them under a UV or LED lamp. They are a great option for beginners and for anyone who wants a salon-quality finish without painting.
Why choose gel stickers: They are fast (10–15 minutes for a full set), mess-free, and require no artistic skill. The design is already printed. They are gentler than gel polish because removal uses oil or warm water, not acetone. They last 10–14 days with proper application.
How to use them: Start with clean, dry nails. Push back cuticles, lightly buff the surface, and wipe with alcohol or dehydrator. Choose a sticker that fits the nail from sidewall to sidewall without touching the skin. Peel it from the backing, place it just above the cuticle, and press from the center outward. Smooth out bubbles with a wooden stick. Fold the excess over the free edge and file it away in one direction. Cure under a UV or LED lamp for 60–90 seconds. For extra durability, apply a thin gel top coat and cure again. Finish with cuticle oil.
Nail Polish and Nail Art Essentials
If you paint your nails or create nail art, a few extra products make the process easier.
Quality nail polish. Choose a formula with good pigmentation and a smooth consistency. Cream and jelly polishes are easiest for beginners. Avoid old or thickened polish; it applies unevenly and dries slowly.
Top coat. A high-gloss top coat seals the color, adds shine, and extends wear. Reapply a thin layer every two to three days for regular polish.
Quick-dry drops or spray. Optional but helpful. They speed drying and reduce smudging.
Dotting tools. Double-ended tools with small and large balls for dots, flowers, and simple designs. A bobby pin or toothpick can work as a substitute.
Fine liner brush. For thin lines, French tips, and detailed art.
Striping tape. For clean geometric lines and color blocking.
Nail stickers and water decals. For detailed designs without freehand skill. Water decals are thin and look seamless under a top coat.
Makeup sponge. For gradient and ombré effects.
Removal and Repair Essentials
Removal is where many people cause damage. These products help you remove polish and enhancements safely, and repair minor breaks.
Non-acetone polish remover. For regular polish. It is gentler than acetone. Use it with cotton pads and wipe gently in one direction.
100% pure acetone. For gel polish, gel stickers, and soak-off enhancements. Do not use non-acetone remover for gel.
Cotton balls and aluminium foil. For the foil wrap method. Saturate cotton with acetone, place it on the nail, and wrap with foil. Wait 10–15 minutes, then gently push off the softened product with a wooden stick.
Wooden cuticle sticks. For pushing off softened gel or polish. Never use metal tools to scrape.
Nail glue or silk wrap. For repairing a broken nail. A small piece of tea bag or silk mesh applied with nail glue can hold a crack together while it grows out.
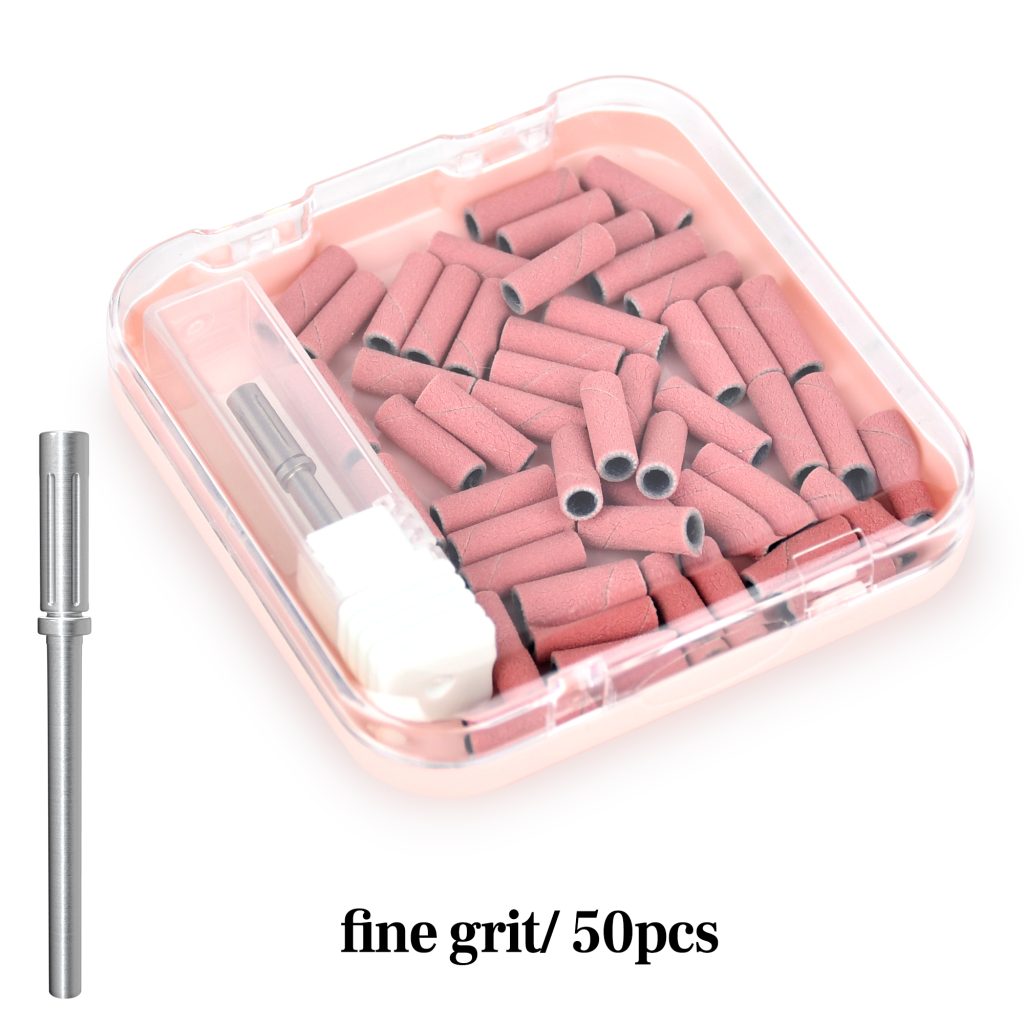
Mini sanding bands. For smoothing the repair and the natural nail after removal.
Cuticle oil and hand cream. For aftercare. Removal products are drying. Hydrate immediately.
Final Thoughts
The ultimate nail care kit is not about having the most products. It is about having the right ones and using them correctly. Start with the basic tools: clippers, file, buffer, cuticle pusher, nippers, brush, wipes, and cleanup brush. Add preparation essentials: dehydrator, base coat, cuticle oil, hand cream, and strengthener. For easy salon-quality color, try gel nail stickers. For polish and art, keep quality polish, top coat, dotting tools, and a fine brush. For removal and repair, have non-acetone remover, pure acetone, foil, cotton, wooden sticks, and nail glue. Keep everything clean, store it in a dry place, and replace worn tools. With this kit, you can handle almost any manicure at home safely and beautifully.
Read also: Breaking the Habit: A Complete Guide to Understanding and Stopping Nail Biting